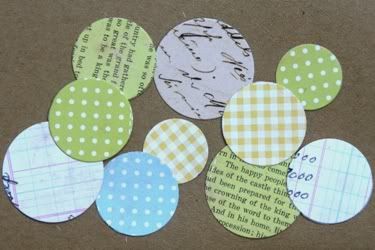
These are just so fun and simple!
Step 1. Cut a bunch of circles in various sizes. I used circle punches to make it fast and easy.
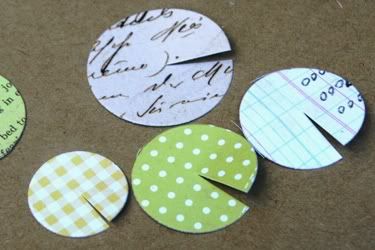
Step 2. Cut a slit to the center of each circle.
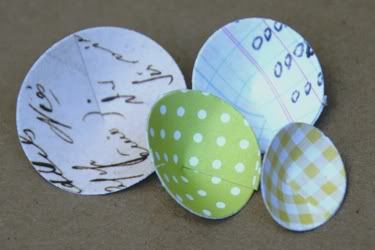
Step 3. Add a line of glue along one edge of the cut slit and the overlap the other side of the slit. The more you overlap, the thicker your flowers will be.
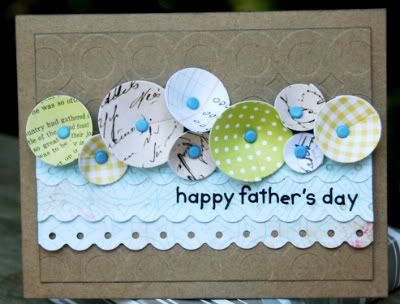
Step 4. Embellish the center of the flower however you like. I used brads, but buttons, other flowers, bits of rolled up paper would also work.
And here is a bonus card from Inspired Blueprints sketch #52 using these flowers. Mags gave it to her grandfather.
Thanks for stopping and have a happy Sunday!