first let me correct the size of the books...they are 2.5 x 3.5...perfect wallet size photo size!
so to make the pages you would cut strips that are 2.5x 7 and fold them in half.
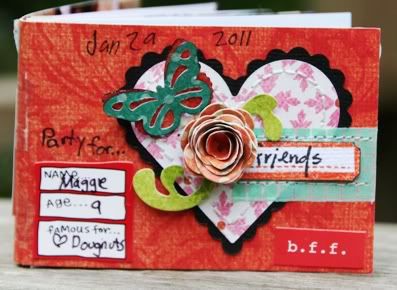
as promised, here are some pics from inside one of the little girl's mini she made at the party...this book belongs to mags' best friend and I wish I could have taken pics of all the books because they were so cute!
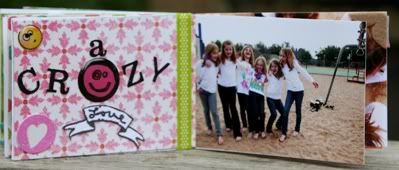
here is her cover, she added some bits and pieces to it:
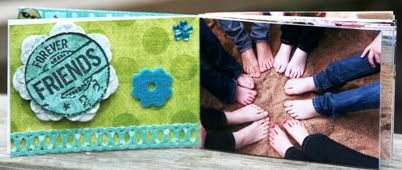
the first page, see how the photo fits perfectly on one side:

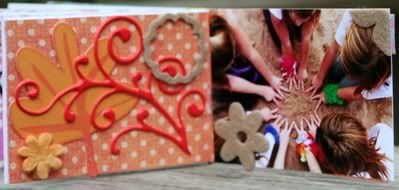
page 2:
page 3:
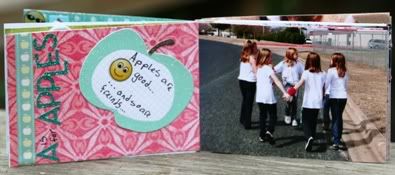
page 4:
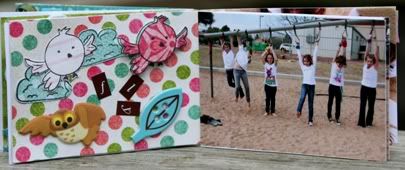
page 5:
page 6:
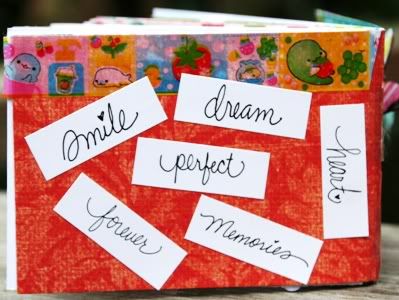
and the back cover:
and here are a few things I learned from it all:
1. everyone needs their own tape runner (thankfully I did this)
2. pre-cut as much as possible...I had made shapes and borders etc for them to use.
3. they love alpha stickers
4. put everything out on the table so they can dig through it...I did put some stuff on the table and had little bowls of things too...they hardly touched the stuff in the bowls, but used up tons of stuff that was on the table
4. you cannot have enough alpha stickers
5. an extra pair of hands to help glue is really helpful
this was a super fun party for all of us...and cheap too! I purchased the tape runners, some stickers, little bottles of glue and had the photos developed for under $20! all the other stuff was from my stash and it is nice to have it gone!