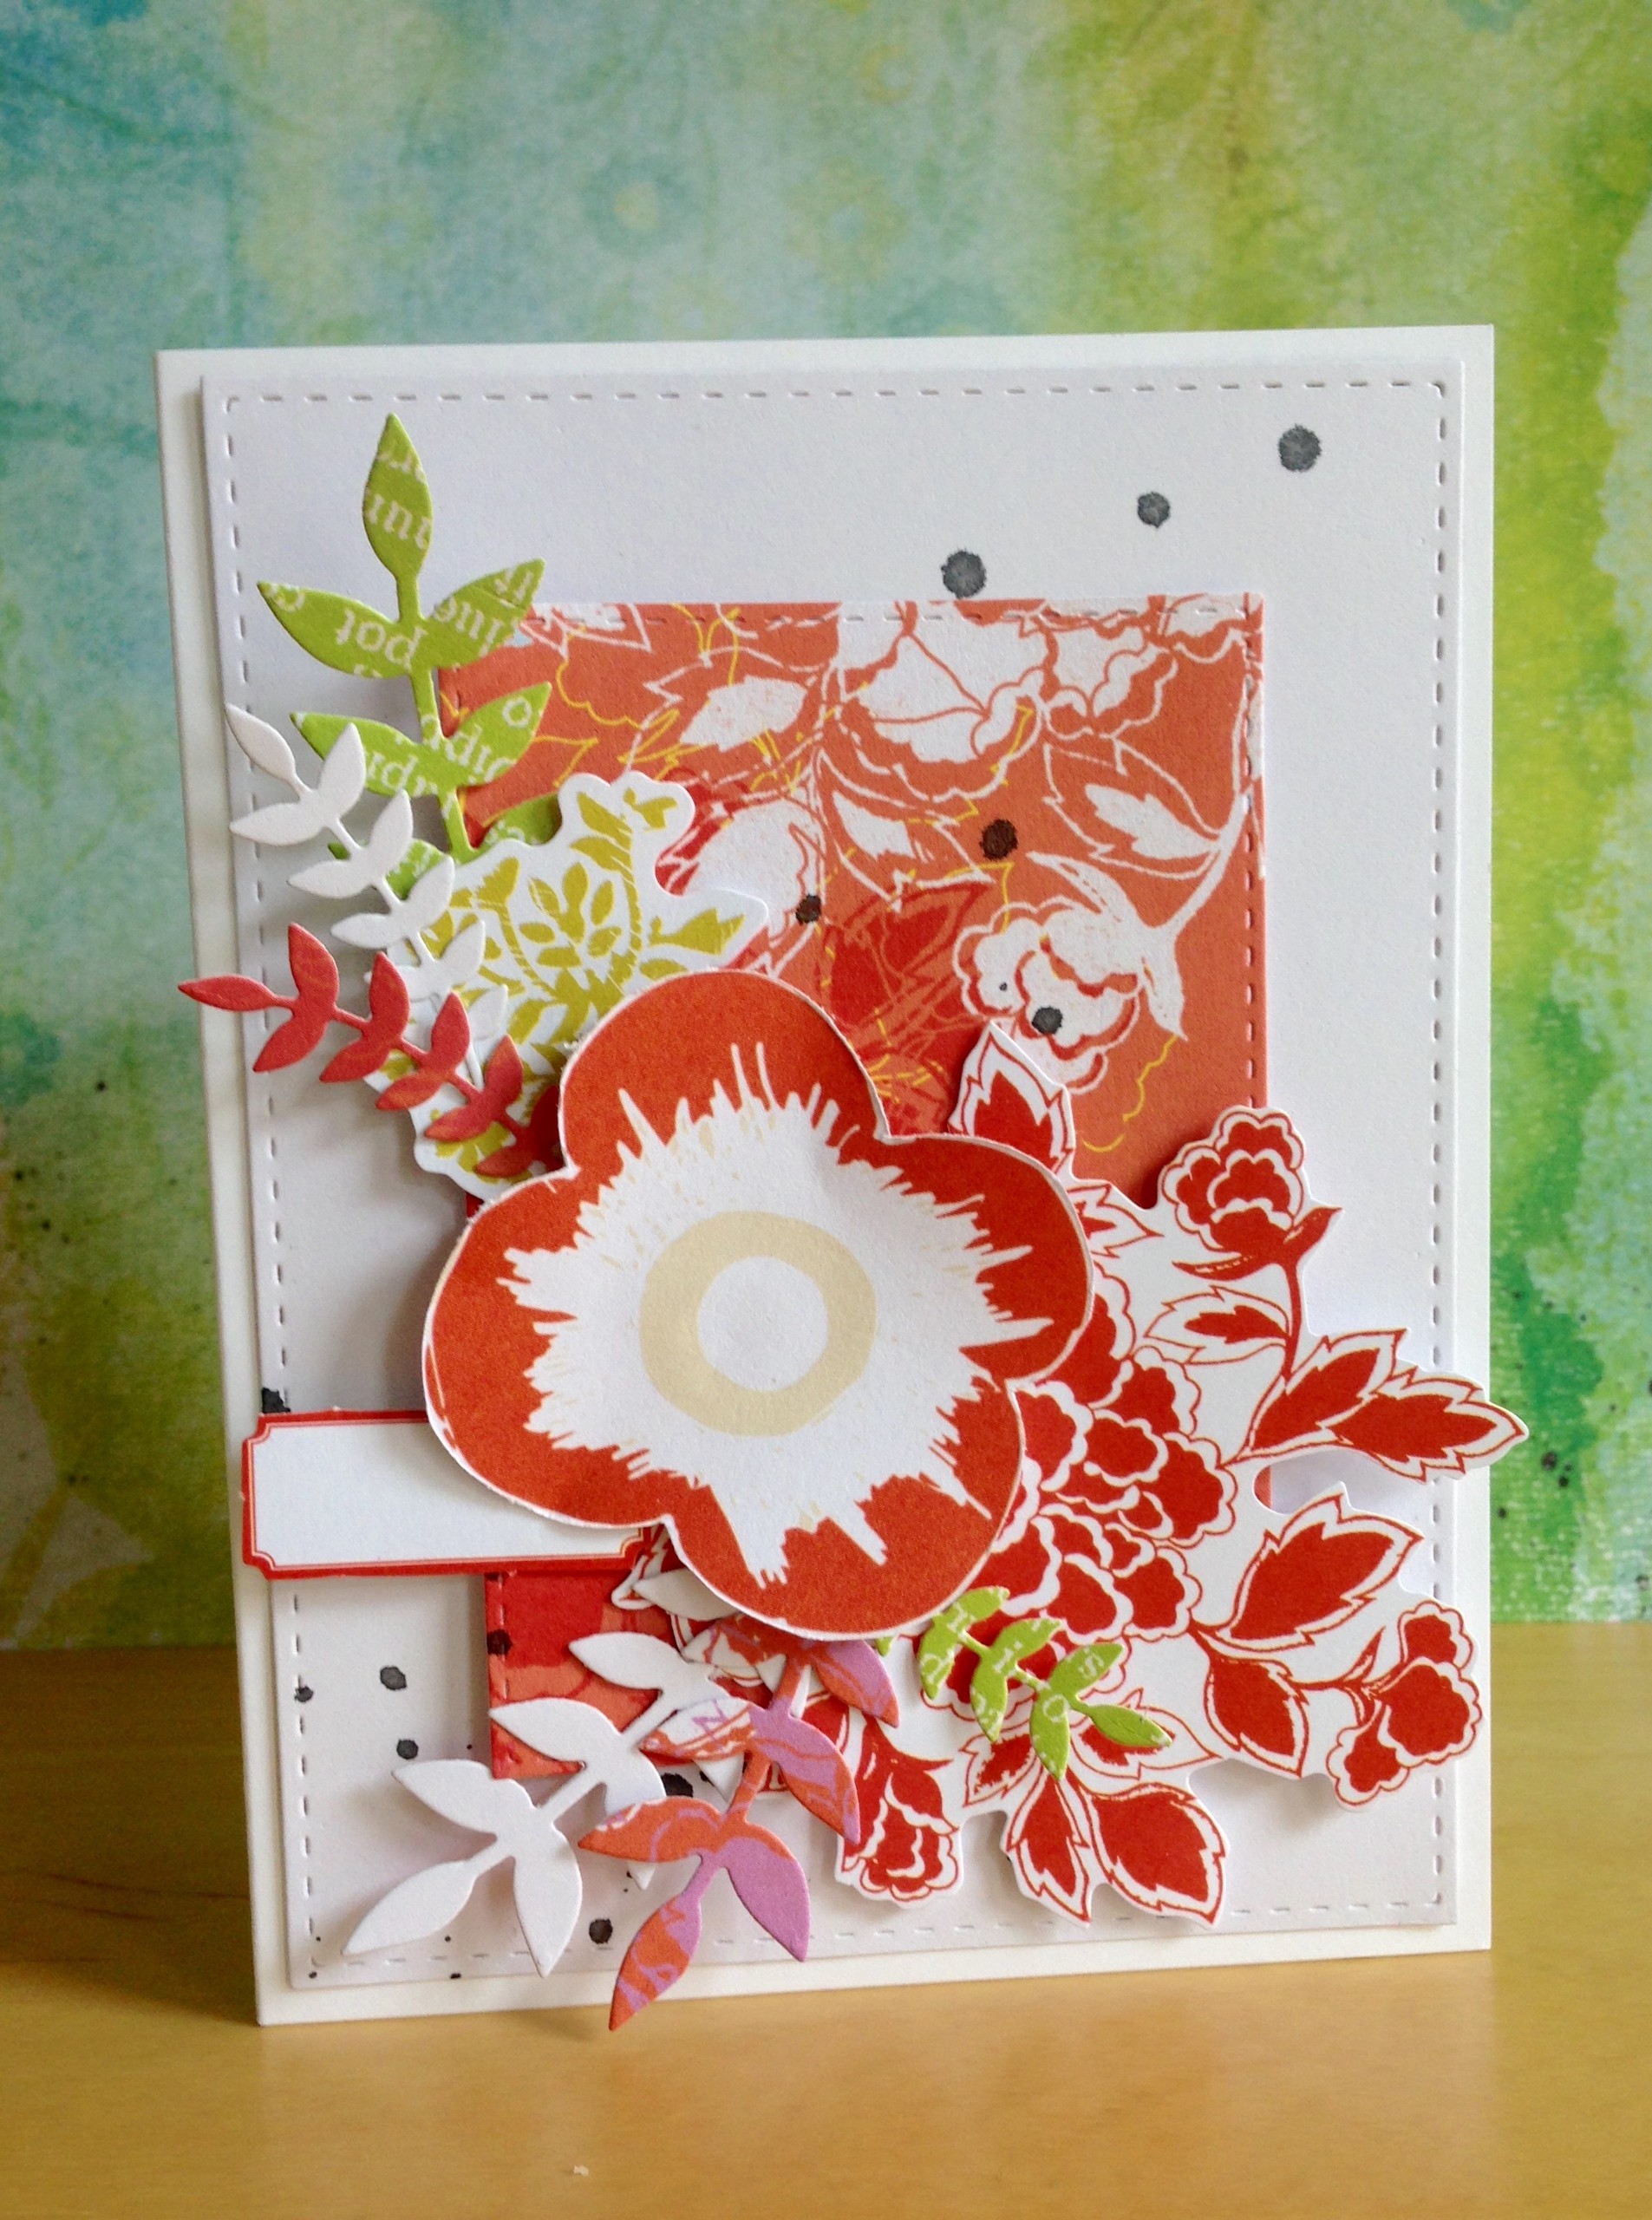
I have a bunch of birthdays coming up so I used made a couple of cards using one of my most favorite Studio Calico stamp sets.
I used 3 color theory inks for the presents and balloon and popped some of them up for a little dimension.
Showing posts with label studio calico. Show all posts
Monday, January 18, 2016
Sunday, January 3, 2016
Happy New Year!
I am still working on Happy New Year cards for the staff at work. Yesterday I made 2 different cards using the Lily Bee 6x6 paper pad I am trying to use up.
For the first 2, I used a mini envelope die from Studio Calico and stuffed in little bits of fun things. The background is embossed with an old Quickutz embossing folder. It is a total lift of this cute card by BranchOutDesigns in the Studio Calico gallery.
Next up is a set of 6 using the same Lily Bee papers, My Favorite Things blueprint dies #15, and Studio Calico stamp by Jasmine Jones...I have definitely used it enough to justify buying it. This card was inspired by this card by Keisha in the Studio Calico gallery.
And if my math is correct that leaves me with 24 remaining to make...it's not going to be easy. Yikes!
Thursday, December 31, 2015
Studio Calico Sunday Sketch Part II
I used the card sketch at Studio Calico to crank out 4 more cards leaving me with 34. I am working on using up this 6x6 paper pad by Lily Bee Design...it is amazing how many cards you can make from a few pieces of little paper.
Thank for stopping by and Happy New Year!
Wednesday, December 30, 2015
Studio Calico Sunday Sketch 12.27
I'm playing along with Sunday Sketch over at Studio Calico. I used the scrapbook sketch as inspiration for this card. The papers are mostly ancient Making Memories, the background was embossed using a Quickutz embossing folder and the penguin is from the Merry and Bright stamp set by In a Creative Bubble for Studio Calico. The die for the flag is also Studio Calico. I used some stickles on his hat for a little sparkly. I made 4 of them so my count is now 38 remaining if you are following along;)
Tuesday, April 21, 2015
Happy Mail!
I received a box in the mail from Studio Calico today and if I made a video of me opening the package and posted it I could win a year subscription! I posted a little video on instagram and wanted to share photos of everything that was inside the box. (I did take a longer video, but it is too big to upload and I'm not going to try to figure that out right now.
I got a new style black handbook. I love these things.
Next are these color theory month labels in black and blue
Some more color theory...this time in paint form...deja blue and blush crush
and these Lara Casey cards from this month make me happy...the colors are amazing!
and make stuff transparency pack from the month before last (Cirque Kit release).
and can you believe it...the Iris kit from this month. I adore that stamp set!
and the Athena add on kit from last month (Odyssey Kit Release)
I got a new style black handbook. I love these things.
Next are these color theory month labels in black and blue
Some more color theory...this time in paint form...deja blue and blush crush
and these Lara Casey cards from this month make me happy...the colors are amazing!
and make stuff transparency pack from the month before last (Cirque Kit release).
and can you believe it...the Iris kit from this month. I adore that stamp set!
and the Athena add on kit from last month (Odyssey Kit Release)
WOW! I know right...I scored big. Thank you so much Studio Calico for your generosity!
Wednesday, March 11, 2015
B is for
border dies and I'm taking part in the Simon Says Stamp Monday Challenge with a couple of cards.
I love how the border just adds something subtle while still making an impact. Both cards were made from Studio Calico Lemon Lush papers and ephemera. I left the tags blank so I could use the cards for whatever just by adding a little sentiment.
Thanks for stopping by!
I love how the border just adds something subtle while still making an impact. Both cards were made from Studio Calico Lemon Lush papers and ephemera. I left the tags blank so I could use the cards for whatever just by adding a little sentiment.
Thanks for stopping by!
Monday, February 2, 2015
Simon Says Stamp Wednesday blog challenge...
is anything goes. So I made this card using my Studio Calico Far Far away kit, Simon Says Stamp stitched dies and birthday stamp set.
Thursday, January 29, 2015
Up in the clouds
That's Simon Says Stamp's Monday's blog challenge. I used my far, far away kit from Studio Calico, Fiskars cloud punches and Dina Wakley's scribbly bird stamp and Freckled Fawn puffy heart sticker to make this...
The bird was stamped on water color paper and painted with watercolors. The background is also water color paper painted with water colors. Loved this challenge!
Wednesday, January 21, 2015
January stash busting project revealed.
I have picked the Holly collection from Crate Paper for my January stash busting project. I picked this, put it back as too hard since it is a Christmas line and then picked it back up...I am always up for a good challenge.
I am working through the Sparkle class at Studio Calico and have been inspired to sparkle up my projects...a win/win in my book.
Here is what I am starting with...
I am working through the Sparkle class at Studio Calico and have been inspired to sparkle up my projects...a win/win in my book.
Here is what I am starting with...
There are about 8 full 12x12 pieces of paper, some partial sheets of paper, diecuts and 2 sheets of alphas...yes this is going to be a challenge.
The first cards I made (and I made 2 of them) uses the back side of the diecut circles, the solid B side of one of the papers and the stamp set from this Studio Calico kit. It is still available.
The sentiment and elephant were embossed with silver metallic Zing embossing powder and then the parachute was embossed on a different sheet of paper and the elephant was stamped with Color Theory ink and then cut out. I gave one of the to a student who graduated last week and the second one will go in my graduation card stash.
I am hoping to SPARK some ideas that will allow you to look at your stash in new and different ways. One great way to update old product is to use new stamps...that immediately makes the project feel more current.
Monday, January 19, 2015
And now the rest of the story.
The end of the Crate Paper Avenue story that is. I had only scraps left after the first 8 cards and managed to make 3 additional cards.
The bird stamp came from this Studio Calico kit and the happy new year stamp came from this Kelly Purkey stamp set. Both are still available.
And when it was all said and done I had this...
this is the back side of the diecuts...I kept them because they are white and have a nice texture...
And then I made these tags with the alphas...
I get bonus points for using up some KI tags, Teresa Collins enamel dots and Jenni Bowlin red labels.
And then there was this...
The bird stamp came from this Studio Calico kit and the happy new year stamp came from this Kelly Purkey stamp set. Both are still available.
And when it was all said and done I had this...
this is the back side of the diecuts...I kept them because they are white and have a nice texture...
And then I made these tags with the alphas...
I get bonus points for using up some KI tags, Teresa Collins enamel dots and Jenni Bowlin red labels.
And then there was this...
I kept these too...I have an idea and maybe I'll try it some day;)
Sunday, January 18, 2015
Happy 2015!
So what if it's a little late, right? I'm always late to the party. I have been taking on stash busting projects to reduce the amount of stuff I have taking up space in my house and I thought it might be fun to share here.
My one little word for 2015 is spark and I hope I can help spark your creativity by showing you how I go about using up some very old supplies.
The first stash busting project is going to involve the Crate Paper Avenue Collection. What I love about these vintage Crate Paper lines is that the B side is a solid color and that lends itself to making cards very nicely.
I'll try to remember to get pictures, but some of these will be coming from Instagram so the quality may not be that great.
Here is what I am starting with...3 full sheets of paper, some partial paper pieces, some die cuts and an incomplete set of alphas.
I started off with making 8 Happy New Year shaker cards...4 of each of these styles.
The card on the left uses the B sides of 2 of the papers and the card on the right uses 1 A and 1 B side. The stamp set is from this Studio Calico kit and the colored ink is Color Theory.
My one little word for 2015 is spark and I hope I can help spark your creativity by showing you how I go about using up some very old supplies.
The first stash busting project is going to involve the Crate Paper Avenue Collection. What I love about these vintage Crate Paper lines is that the B side is a solid color and that lends itself to making cards very nicely.
I'll try to remember to get pictures, but some of these will be coming from Instagram so the quality may not be that great.
I started off with making 8 Happy New Year shaker cards...4 of each of these styles.
The card on the left uses the B sides of 2 of the papers and the card on the right uses 1 A and 1 B side. The stamp set is from this Studio Calico kit and the colored ink is Color Theory.
Thursday, August 21, 2014
let's finish off that Studio Calico Elementary
After adding some of the Studio Calico Elementary collection to the Love, Elsie I thought I might as well finish off the collection pack with these cards.
And I didn't quite get rid of the collection pack...I still have 1 full sheet of atmosphere and a partial sheet of the apples left. I did give it a good go though. And now the back to school cards are done. Yay!
Wednesday, August 20, 2014
And just when you have decided that you can't make one more thing with your scraps
you go and make 3 cards!
Here is what was left of my Love, Elsie stash
And then it really was stash busting at it's finest...there were only 3 tiny scraps left :)
Here is what was left of my Love, Elsie stash
I thought I would just toss it in the recycling bin, but then I started moving the little bits of paper around and came up with these 3 back to school cards...
And then it really was stash busting at it's finest...there were only 3 tiny scraps left :)
Monday, August 18, 2014
Love, Elsie stash busting cards
As I continue on my back to school card making journey, I am determined to use up the Love, Elsie that remains in my stash. This makes it harder to make cards because I can't make them all the same. Each card has to be made to fit the scrap that is being used to make it. But alas, I worked it out and made the following cards...
to my stamped shapes I have added the approved tab from a Studio Calico stamp set and an owl from Sassafras Lass...the later being stamped with brown color theory ink and the shapes colored with copics.
here I added the light bulb stamped shape from the same Studio Calico set as the approved stamp above and once again these were colored with copics.
here I added some stars on sparkly DMC floss.
here I added some sequins.
here I just stamped directly on the paper with color theory ink.
these shapes were colored with Studio Calico Mr. Huey's.
and these with diluted Mr. Huey's.
Again, the painting takes so much more time than coloring with the markers. I love the effect, but unless I invest in some good paint brushes, I won't be doing it very often.
Thanks for stopping by and I should have some more cards for you tomorrow.
to my stamped shapes I have added the approved tab from a Studio Calico stamp set and an owl from Sassafras Lass...the later being stamped with brown color theory ink and the shapes colored with copics.
here I added the light bulb stamped shape from the same Studio Calico set as the approved stamp above and once again these were colored with copics.
here I added some stars on sparkly DMC floss.
here I added some sequins.
theses shapes were colored with copics.
here I just stamped directly on the paper with color theory ink.
these shapes were colored with Studio Calico Mr. Huey's.
and these with diluted Mr. Huey's.
Again, the painting takes so much more time than coloring with the markers. I love the effect, but unless I invest in some good paint brushes, I won't be doing it very often.
Thanks for stopping by and I should have some more cards for you tomorrow.
Sunday, August 17, 2014
back to school time...
and that means back to school cards. I have made a card welcoming back everyone on the campus where I teach for 3 years. Last year I made 27 and so when I had 27 made, I looked at the new contact list and there were 40! YIKES! So I made 40 as of this morning and then looked at the list in my new teacher folder that I received on Friday and there are 43 names on the list...minus 1 for me and I am still short 2 cards. That should be easy enough to fix, but I also washed all my stamps and put them all away...that'll teach me;)
So I would love to share some cards. First up are some cards I made with the Sandlot card kit from Studio Calico. I also used the Studio Calico teachers pet stamp set for all of these cards.
The first card was a lift of Maggie Holmes's card in the CT gallery. I used Studio Calico color theory inks to color the shapes and added some color theory stars.
and this one colored with Heidi Swapp color shine...
and this one using up the remaining numbers, some sewed on paper clips and these shapes colored with the water color pencils and then brushed with water.
So I would love to share some cards. First up are some cards I made with the Sandlot card kit from Studio Calico. I also used the Studio Calico teachers pet stamp set for all of these cards.
The first card was a lift of Maggie Holmes's card in the CT gallery. I used Studio Calico color theory inks to color the shapes and added some color theory stars.
I also made this card using the scrap 2" from the card above and another sheet of paper from the kit. The shapes were colored with colored water color pencils dipped in water and used directly on the shapes.
I used the other half of the paper above used above and some numbers cut from the scraps of the paper used in the first card, and added in some Love, Elsie paper that I have been hoarding. I also added in a Stampin' Up library card. These shapes were colored with the water color pencils and then brushed with water.
So now, I am into using pieces of the kit with the Love, Elsie paper. These shapes were colored with color pencils.
and this one using up the remaining numbers, some sewed on paper clips and these shapes colored with the water color pencils and then brushed with water.
I really loved how the color shine and color theory inks looked when painted on, but if I was going to do this frequently, I would invest in a good paint brush. I used the paint brush from one of my daughter's paint sets (she is 12 and probably used these when she was 4) and it was a little difficult to control where the color was going. I also loved the boldness of the water color pencils dipped in water and used directly on the shapes. The other methods are good if you are looking for lighter colors.
I'll share some more cards and coloring methods tomorrow.
Subscribe to:
Posts (Atom)


.jpg)
.jpg)
.jpg)
.jpg)

.jpg)
.jpeg)
.jpeg)
.jpeg)
.jpeg)
.jpeg)
.jpeg)
.jpeg)
.jpeg)
.jpeg)
.jpeg)
.jpeg)
.jpeg)
.jpeg)
.jpeg)
.jpeg)
.jpeg)
.jpeg)
.jpeg)
.jpeg)
.jpeg)
.jpeg)
.jpeg)
.jpeg)