As I continue on my back to school card making journey, I am determined to use up the Love, Elsie that remains in my stash. This makes it harder to make cards because I can't make them all the same. Each card has to be made to fit the scrap that is being used to make it. But alas, I worked it out and made the following cards...
to my stamped shapes I have added the approved tab from a Studio Calico stamp set and an owl from Sassafras Lass...the later being stamped with brown color theory ink and the shapes colored with copics.
here I added the light bulb stamped shape from the same Studio Calico set as the approved stamp above and once again these were colored with copics.
here I added some stars on sparkly DMC floss.
here I added some sequins.
theses shapes were colored with copics.
here I just stamped directly on the paper with color theory ink.
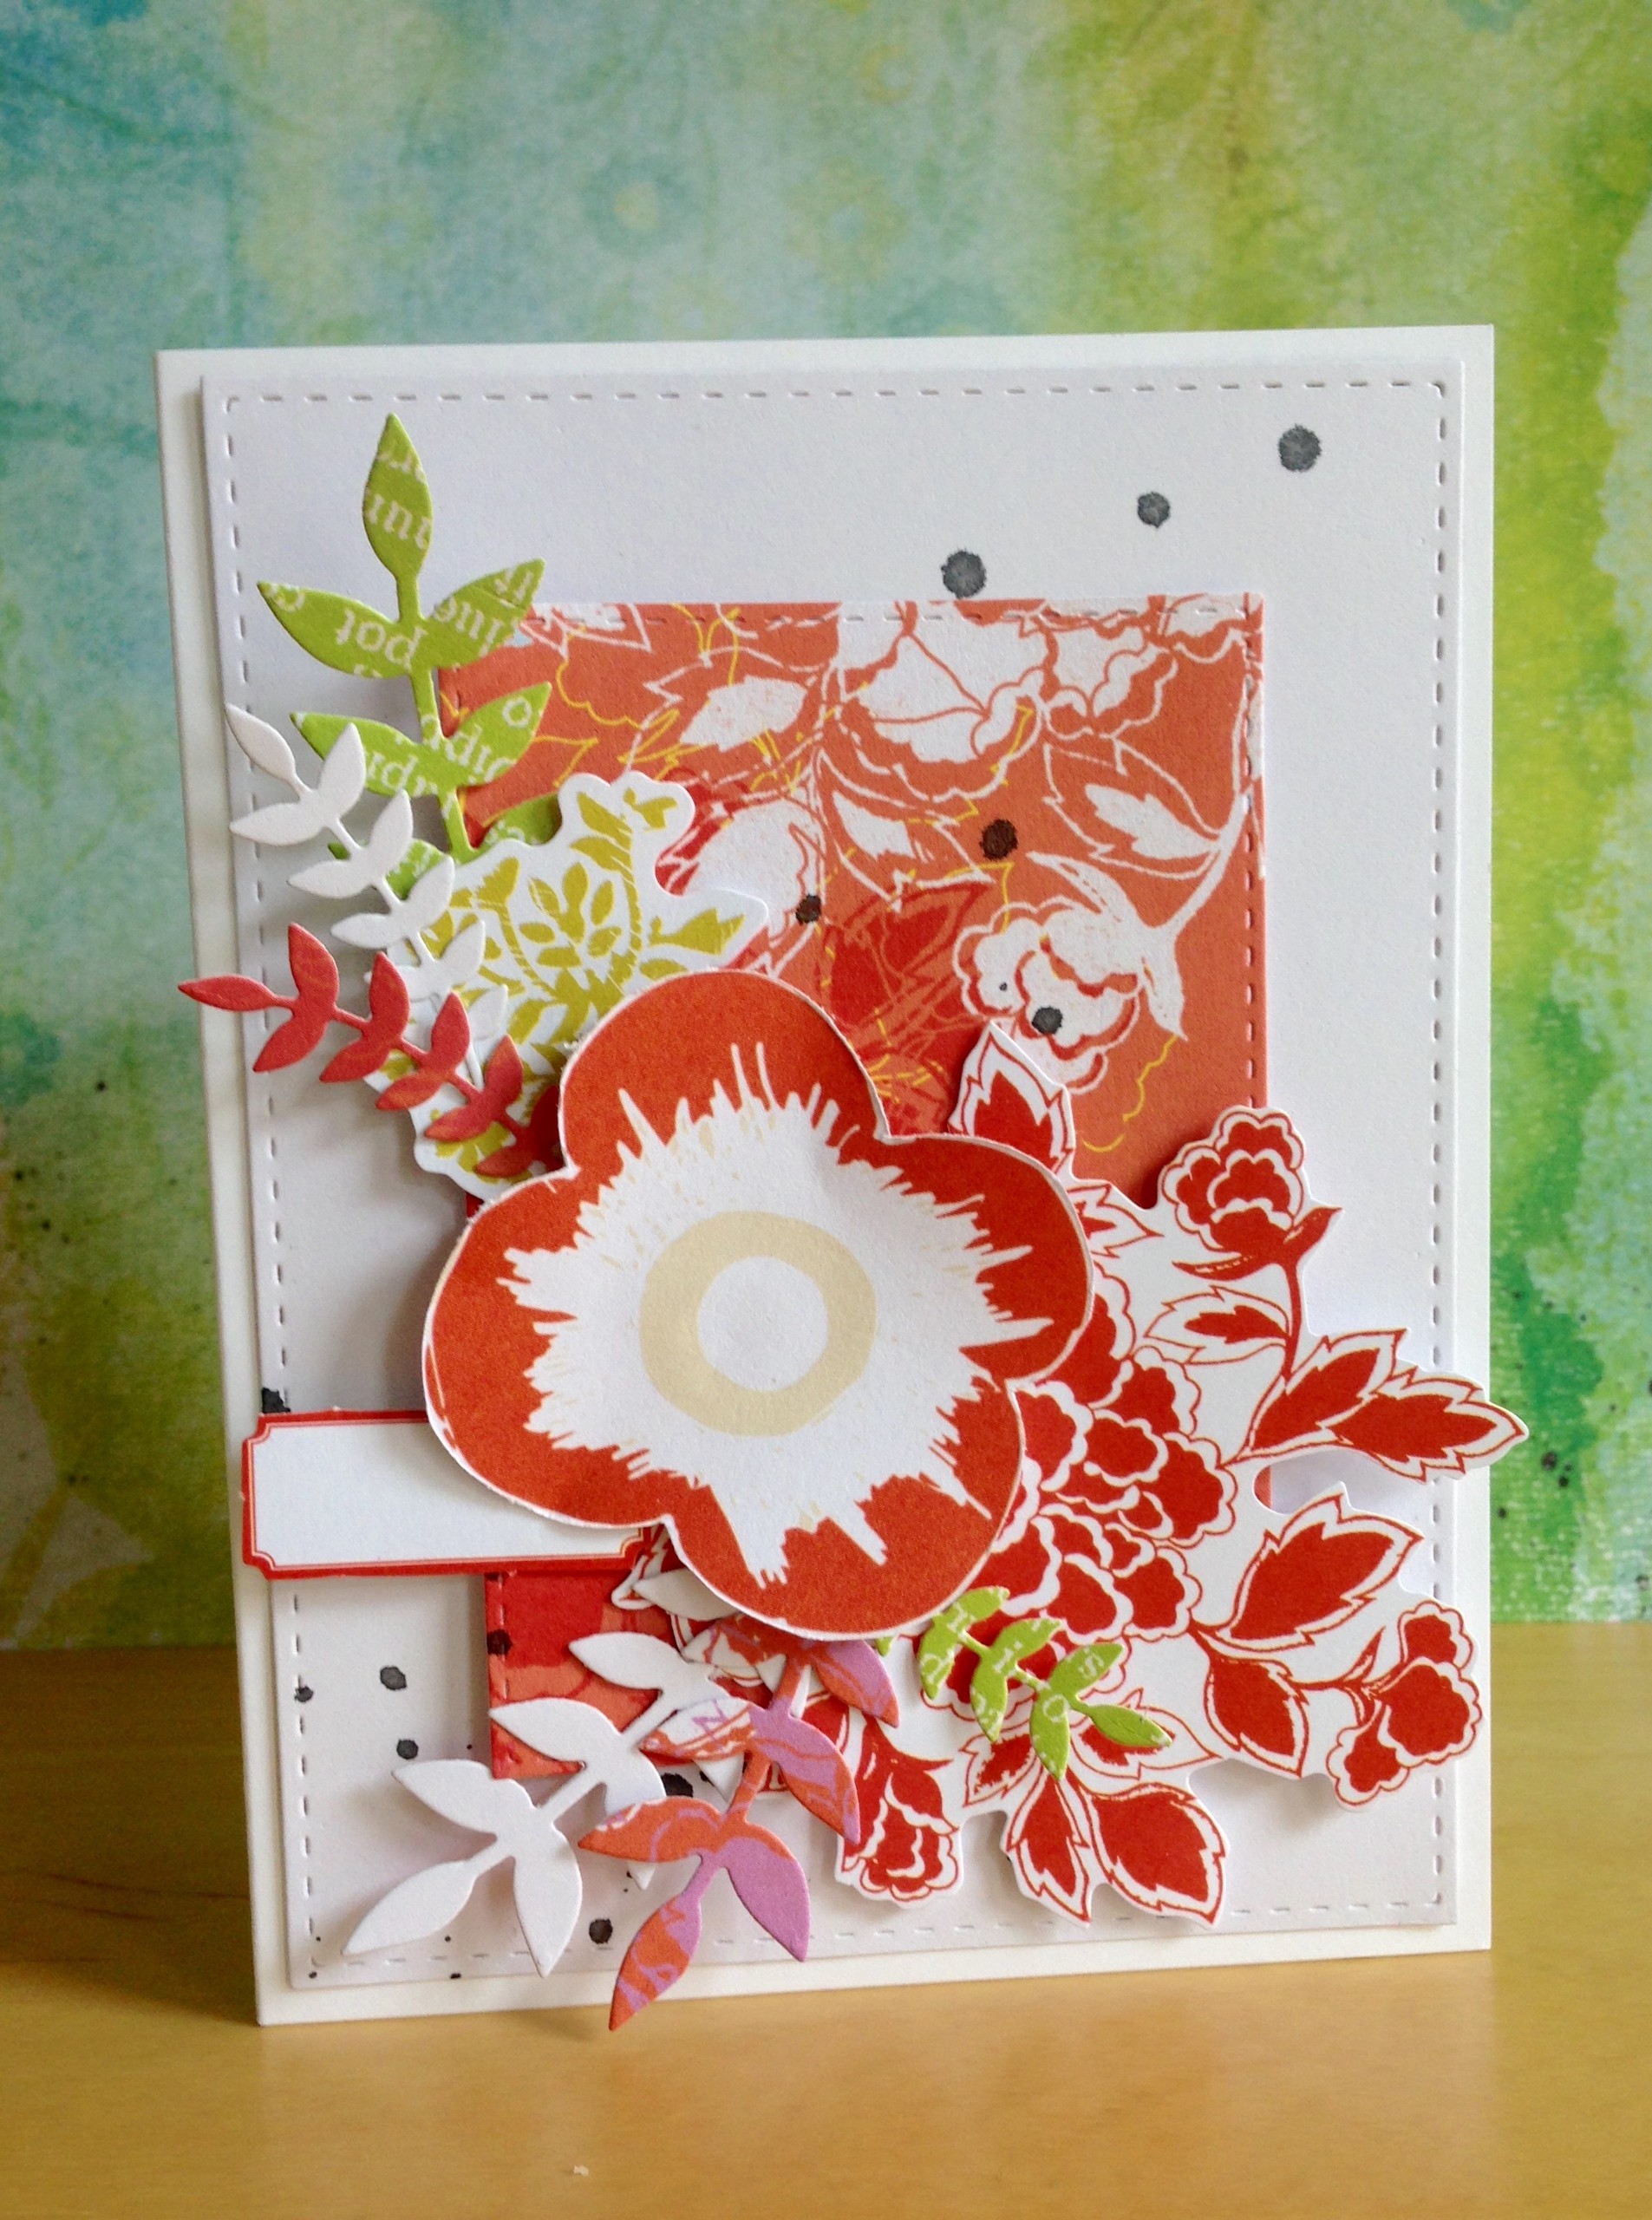
these shapes were colored with Studio Calico Mr. Huey's.
and these with diluted Mr. Huey's.
Again, the painting takes so much more time than coloring with the markers. I love the effect, but unless I invest in some good paint brushes, I won't be doing it very often.
Thanks for stopping by and I should have some more cards for you tomorrow.


.jpg)

.jpg)
.jpg)
.jpg)
.jpg)


.jpg)
.jpg)
.jpg)

.jpg)


.jpeg)
.jpeg)
.jpeg)
.jpeg)
.jpeg)
.jpeg)
.jpeg)
.jpeg)
.jpeg)
.jpeg)
.jpeg)
.jpeg)
.jpeg)
.jpeg)
.jpeg)
.jpeg)
.jpeg)